
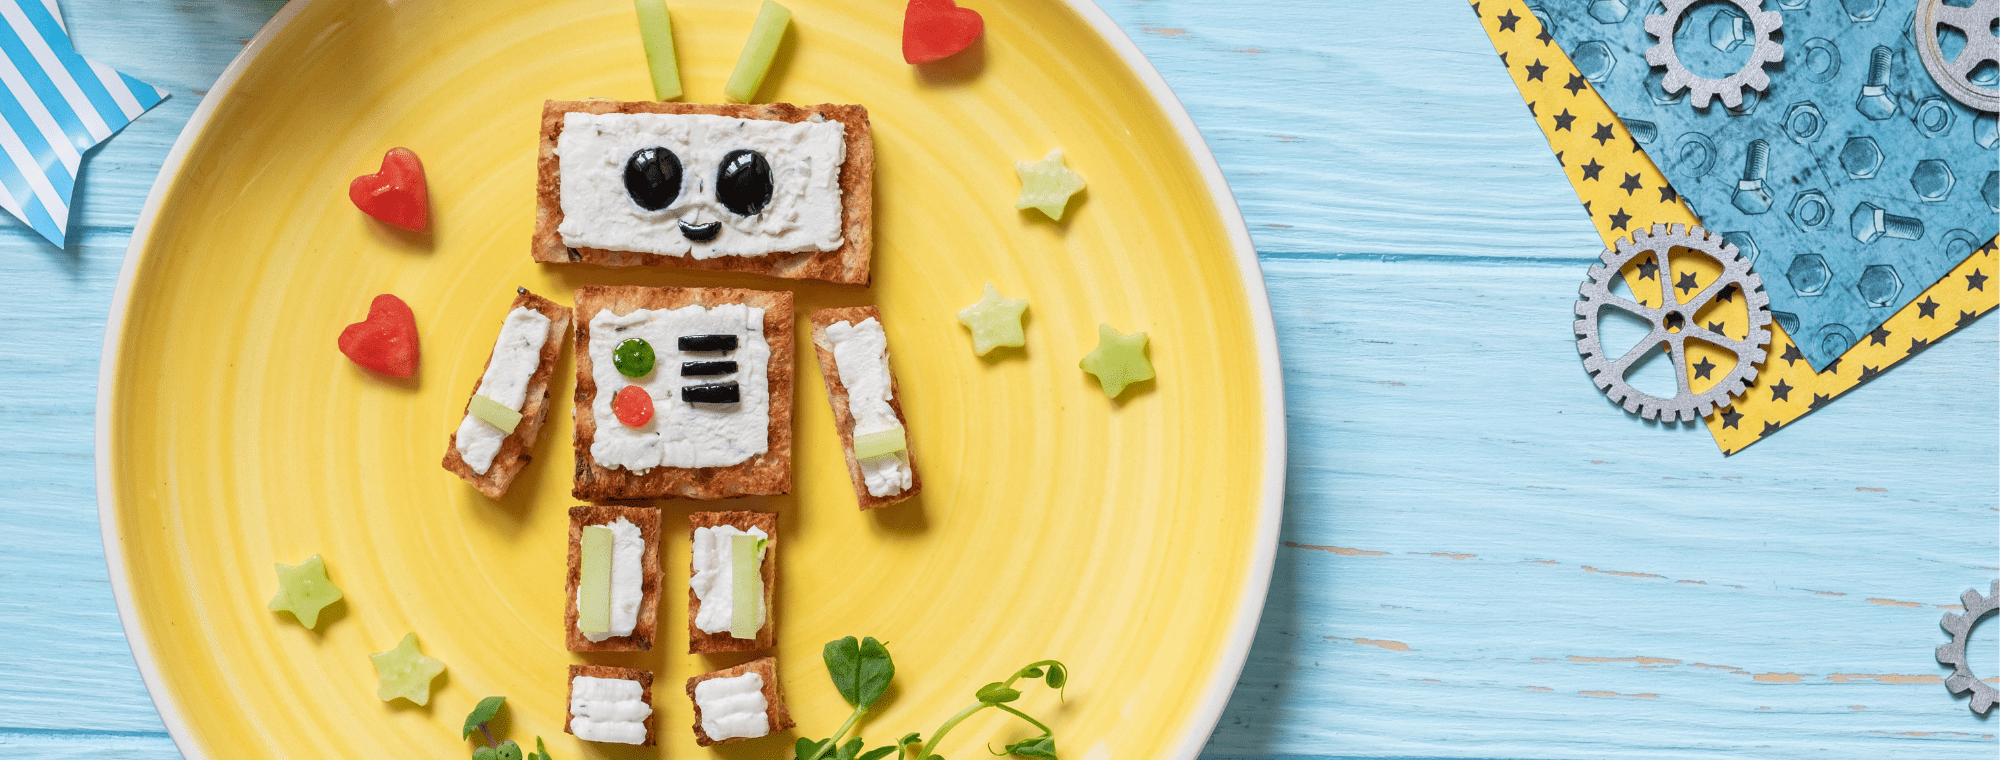
Kids love playing with food, which makes kitchen science projects a fantastic way to teach science lessons and make interesting discoveries. Many of these activities also teach problem solving, patience, trial-and-error and soft skills which kids will benefit from in their everyday life.
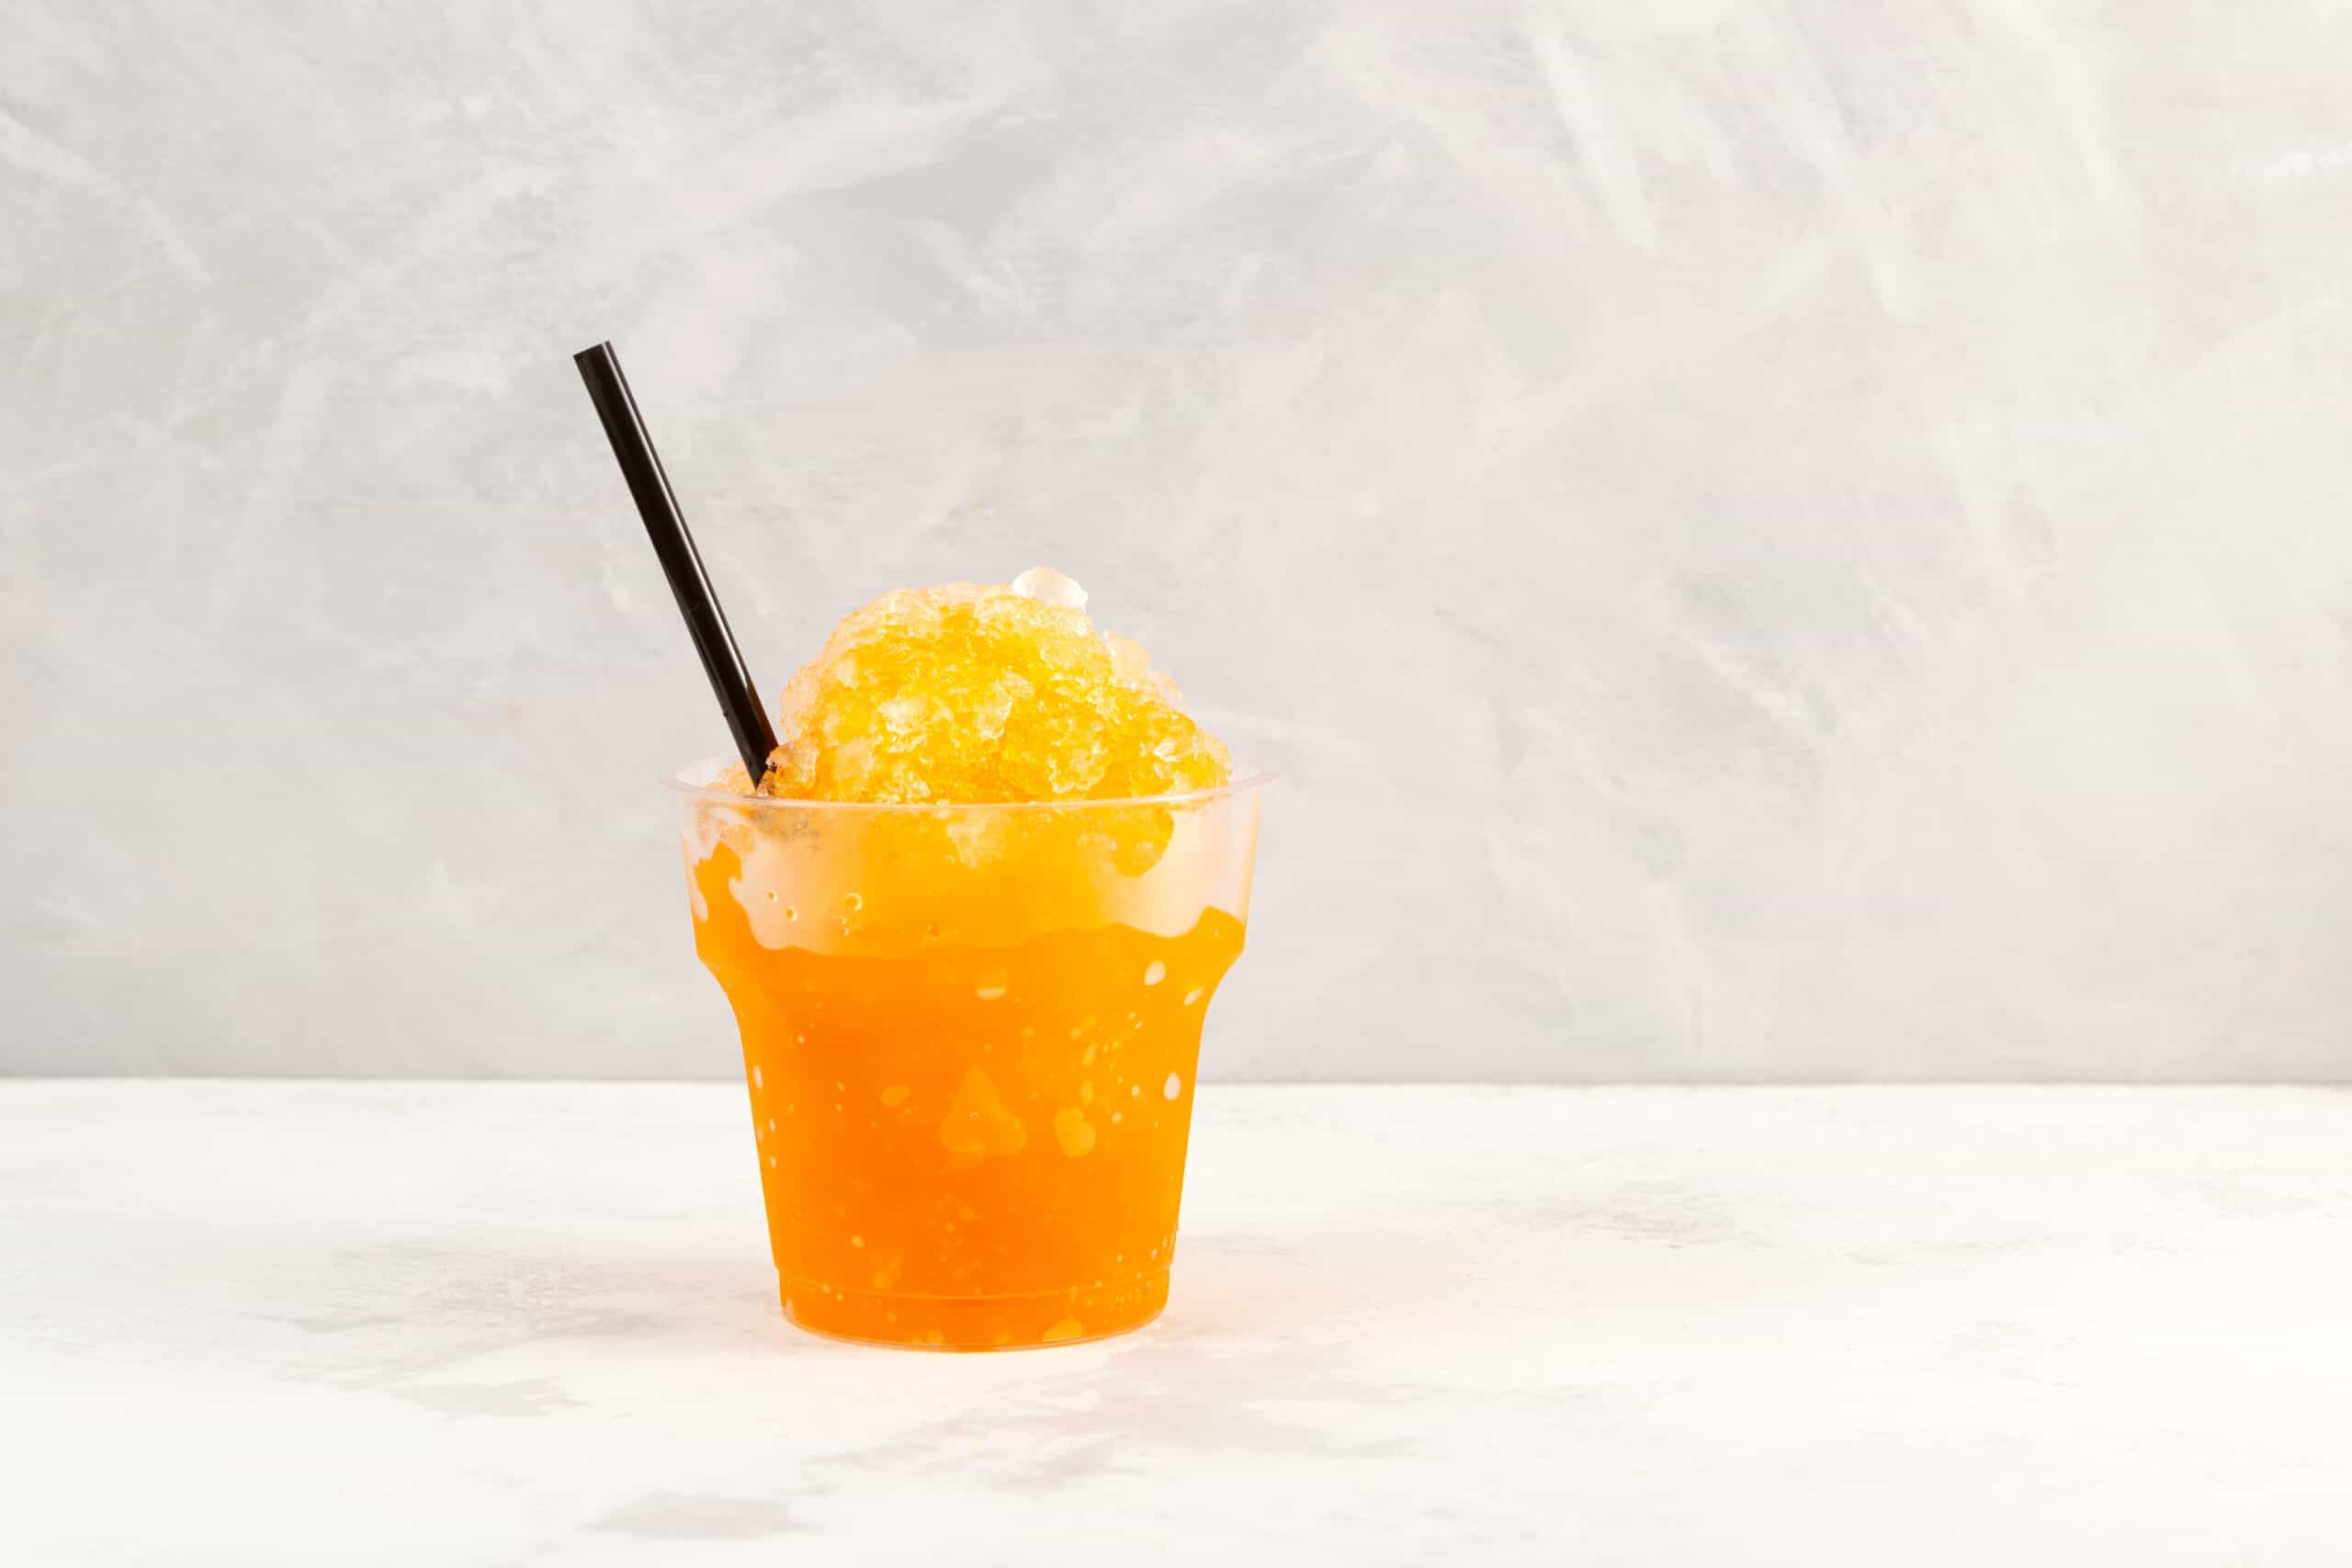
Sweet Slushy
In this science experiment, we learn how ice and salt can be turned into a sweet slushy through heat transfer. This activity can test your patience, so it’s best to set up at the beginning of the day so that the treat will be finished in the afternoon – ready to enjoy when the sun is hottest!
What You Need:
• Small plastic cup
• Large bowl
• Spoon
• Straws
• Ice cubes
• Coarse rock salt
• Juice of your choice
• Optional: Non-contact digital infrared thermometer
Method:
Fill the plastic cup with juice and sit it in the centre of the bowl. Add the ice all around the outside until it covers at least 3⁄4 up the side of the cup.
Carefully sprinkle the salt onto the ice. Be very careful not to get any salt in the juice – otherwise, you’ll end up with a salty slushy. Cover the entire ice with salt.
Wait patiently. Stir the juice gently every half an hour. It can take anywhere from 1 to 2 hours for the freezing to start, but once it does, stir regularly or the juice will form into an ice cube.
Scrape the freezing juice off the sides of the cup and mix it all together.
Your slushy will continue to thicken. Once it reaches the desired thickness, it is ready to drink. Add a straw and enjoy your sweet science experiment!
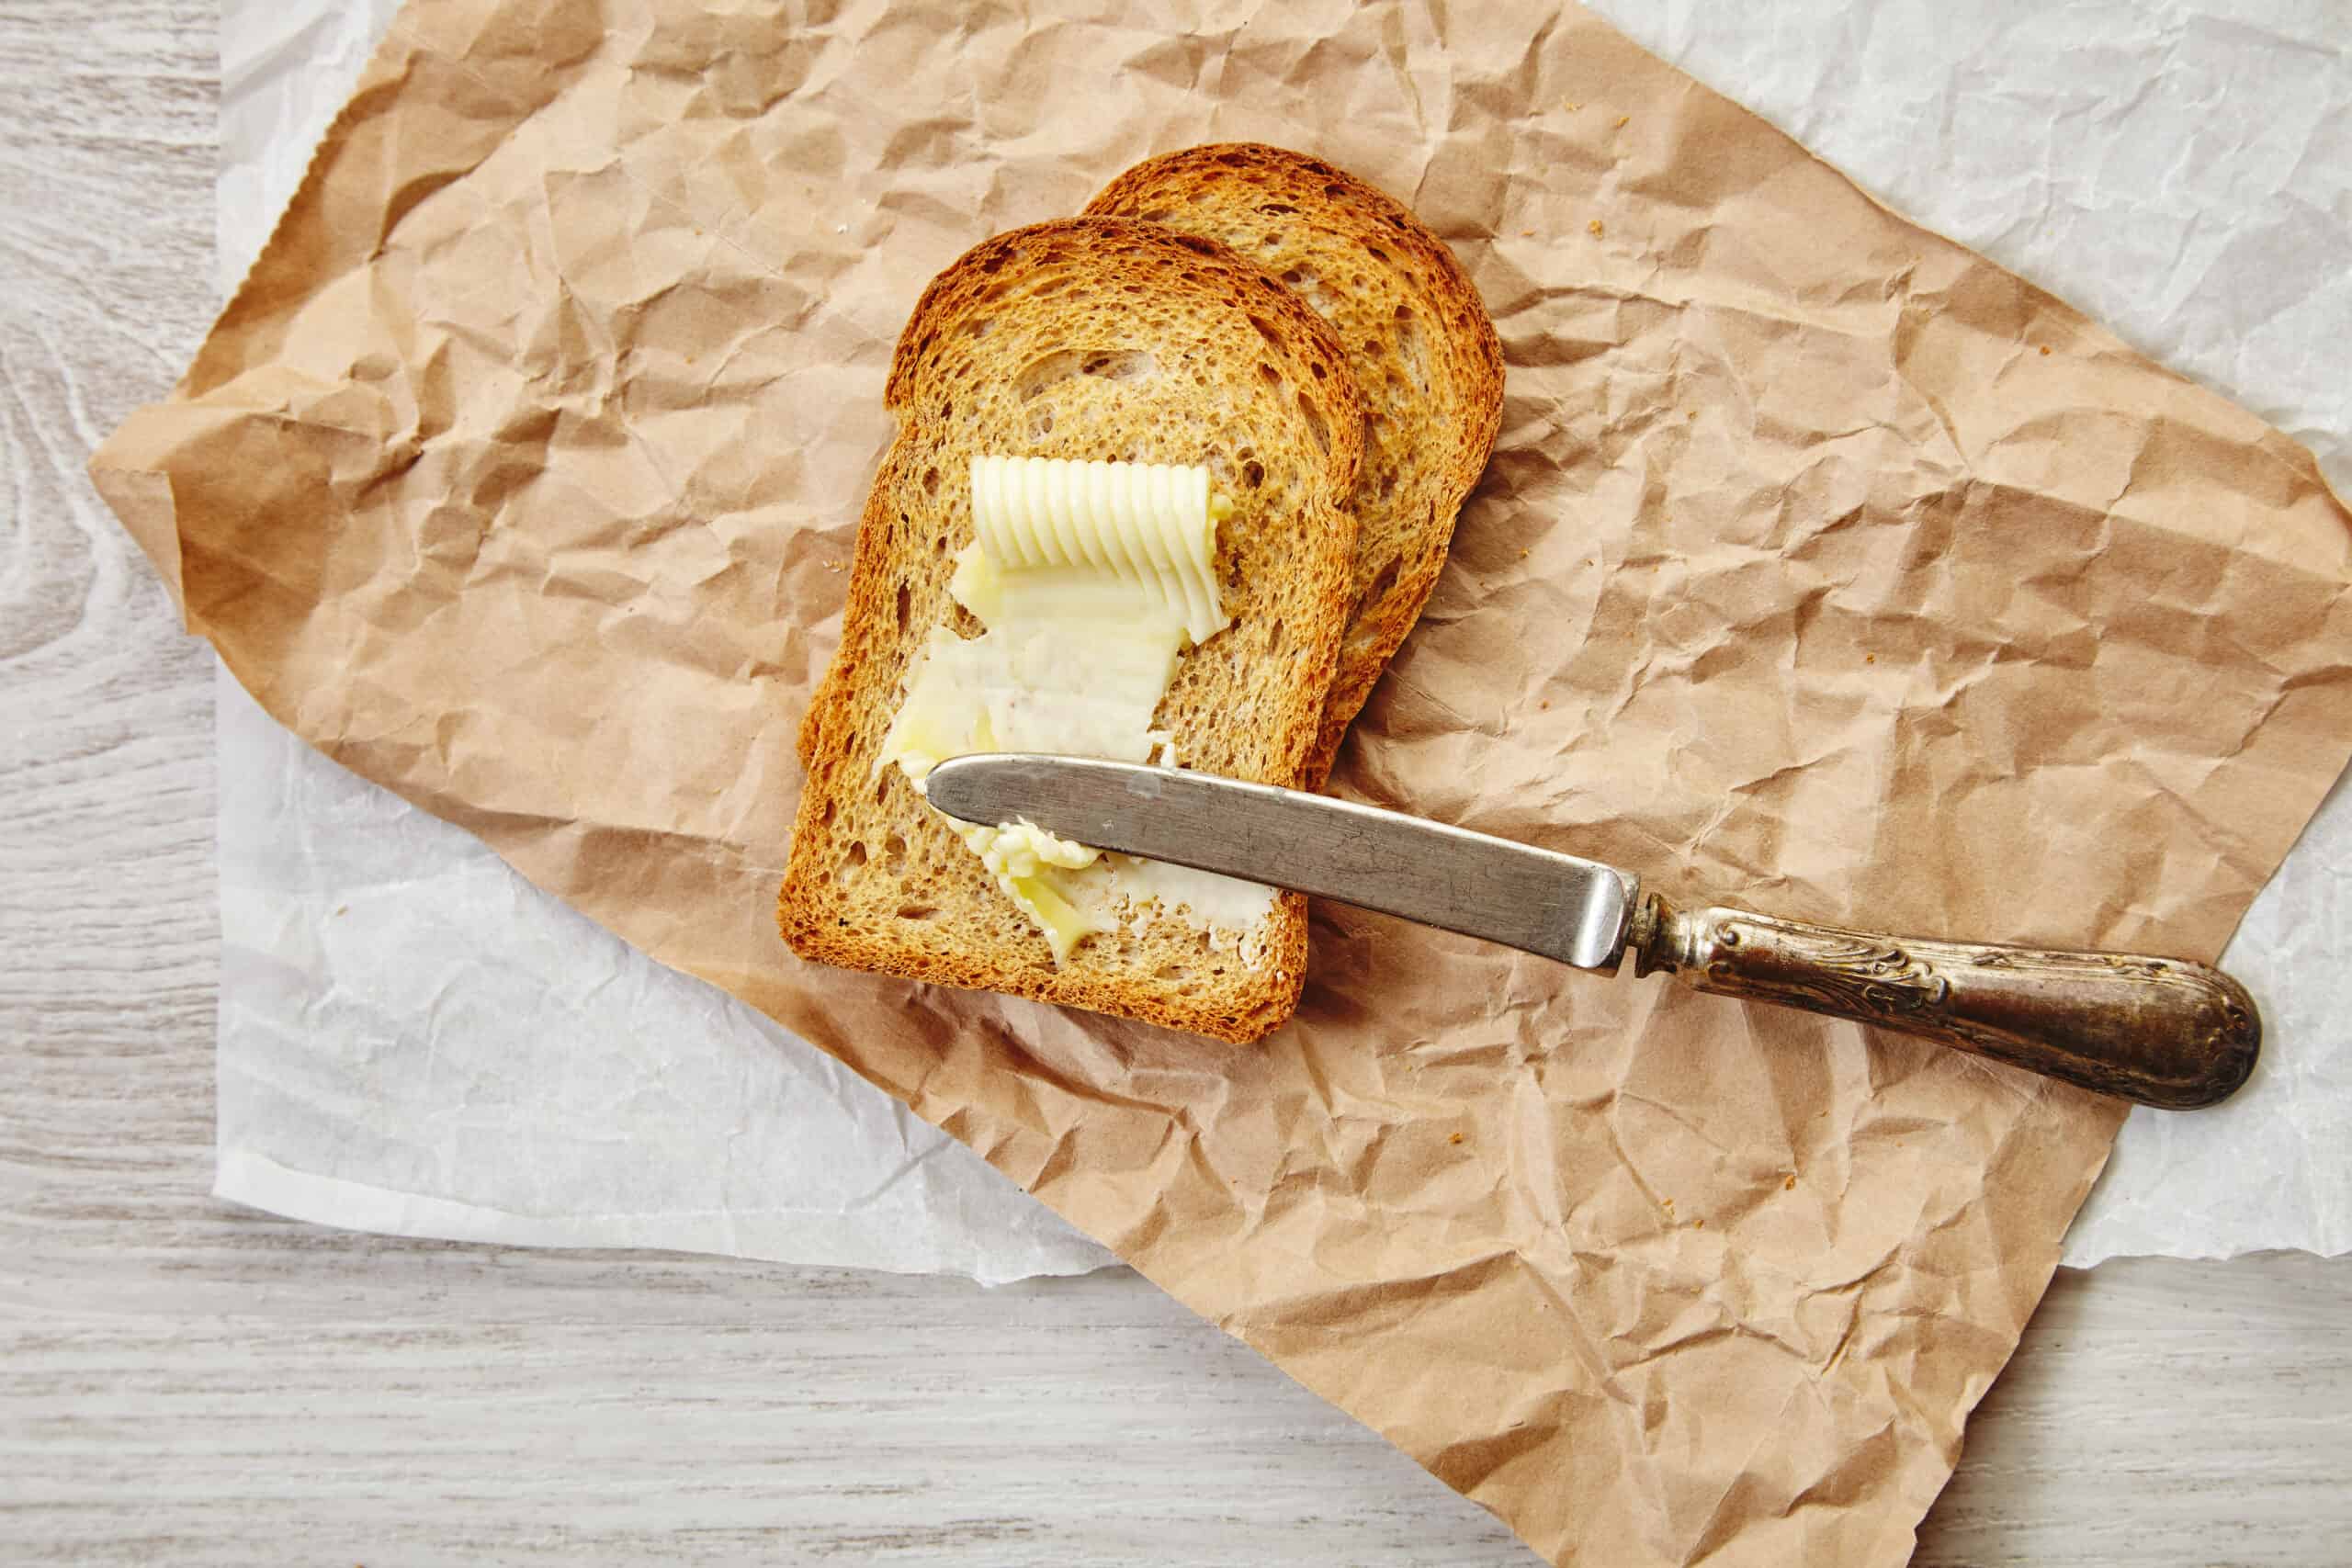
Making Butter
Have you ever tried to whip cream in your kitchen aid and forgotten about it… only to find it had turned into butter? Here’s a manual and fun way to make this delicious spread, so get your kids busy by letting them shake their way to delicious, homemade butter.
What You Need:
• A thick mason jar with a lid
• Whipping cream
• 2 or 3 clean glass marbles (optional). Marbles speed up the process because they provide extra agitation for the
cream
Method:
Fill the jar halfway with cream and rop the marbles in. Tightly close the lid and shake the jar. After a minute or two, the cream will thicken.
As the cream thickens, you get whipped cream! You can taste some if you like.
Pop the lid back on, and keep shaking. After a few more minutes, you’ll notice liquid sloshing around in the jar. Buttermilk is now separating from the butter that’s starting to solidify in the jar.
Continue to shake it for another minute or so until the butter forms a solid mass.
Pour off the buttermilk and shake the butter out of the jar. If you like pancakes, save the buttermilk for the batter.
Rinse the butter under cold water by kneading it a little. This removes the last of the buttermilk, preventing the butter from going rancid quickly.
Now it’s time for a taste test! Slather the light and fluffy homemade butter onto warm toast, and enjoy! You can also add a dash of salt, fresh garlic or chopped herbs.
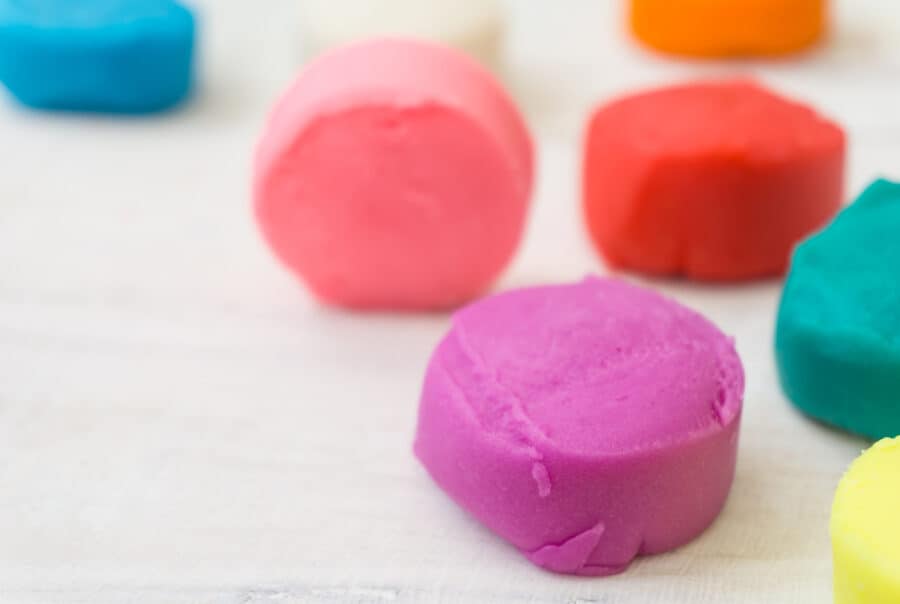
Edible Marshmallow Playdough
This sweet treat is perfect for slime-obsessed kids because it’s messy, sticky and wonderfully delicious!
What You Need:
• Marshmallows
• Corn Starch
• Icing Sugar
• Coconut Oil
• Food Colouring
Method:
In a bowl mix three tablespoons of cornstarch with one tablespoon of icing sugar. Set aside.
Place five Marshmallows into a microwave-safe container.
Add a tablespoon of coconut oil and a few drops of food colouring.
Microwave in short five to ten second increments and watch closely as the marshmallows expand like crazy.
As soon as the marshmallows bubble and expand massively, let the microwave cool for a moment. Once the marshmallows stop expanding and bubbling, start heating again. This process takes about 30 seconds with about four breaks. Sugar burns easily, so be patient and careful, otherwise, the marshmallows will explode or turn crispy. Careful – it will be hot!
Using a spoon, mix the marshmallow mixture in the container until it pulls together into a ball. Remove it and place it into the cornstarch-icing sugar mixture.
Sprinkle some of the icing sugar mixture on top of the marshmallows until covered completely.
Let cool briefly, then lift it out with your hands and start kneading.
If it feels too sticky, press it into the cornstarch mixture, then continue kneading.
Enjoy! The edible playdough tastes like marshmallows but has a more “rubbery” texture to it. It is not really a make- and-store type of item, so play with it, eat it, and dispose of any leftovers. Most kids are more interested in the making part of the experiment, and eating it is just the cherry on top.