
Easter break is coming up fast so we’ve put together four creative Easter crafts for kids, helping to keep them entertained and having fun. Not many materials are needed and the kids are sure to love getting hands-on with these cute and Easter-themed activities. Check them out below.
Pasta Easter Eggs

What You Need
Variety of dried pasta
Baking paper
Empty cereal box or similar
Acrylic Paints
Scissors
Craft glue or hot glue gun
Painting drop sheet
Paint brushes
Optional: zip lock bags

Method
Place your plastic drop sheet on the surface you are working on to protect it from paint splatter. Paint your dried pasta noodles any colours you like, either by hand or you can also place pasta in a small zip lock bag, adding a squirt of paint, sealing, and then moving the pasta around in the bag – coating them completely with paint. Place the painted pasta on baking paper sheet in the sun to dry.
While your pasta is drying, unfold your empty cereal box and draw easter egg shapes (approx. 15cm long) on the inside surface. Cut the cardboard easter egg shapes out. Paint these shapes – any way you like.
Once dry, glue your pasta to the egg shape with the craft glue. Be creative with your designs. A parent will be needed to help if you are using a glue gun.
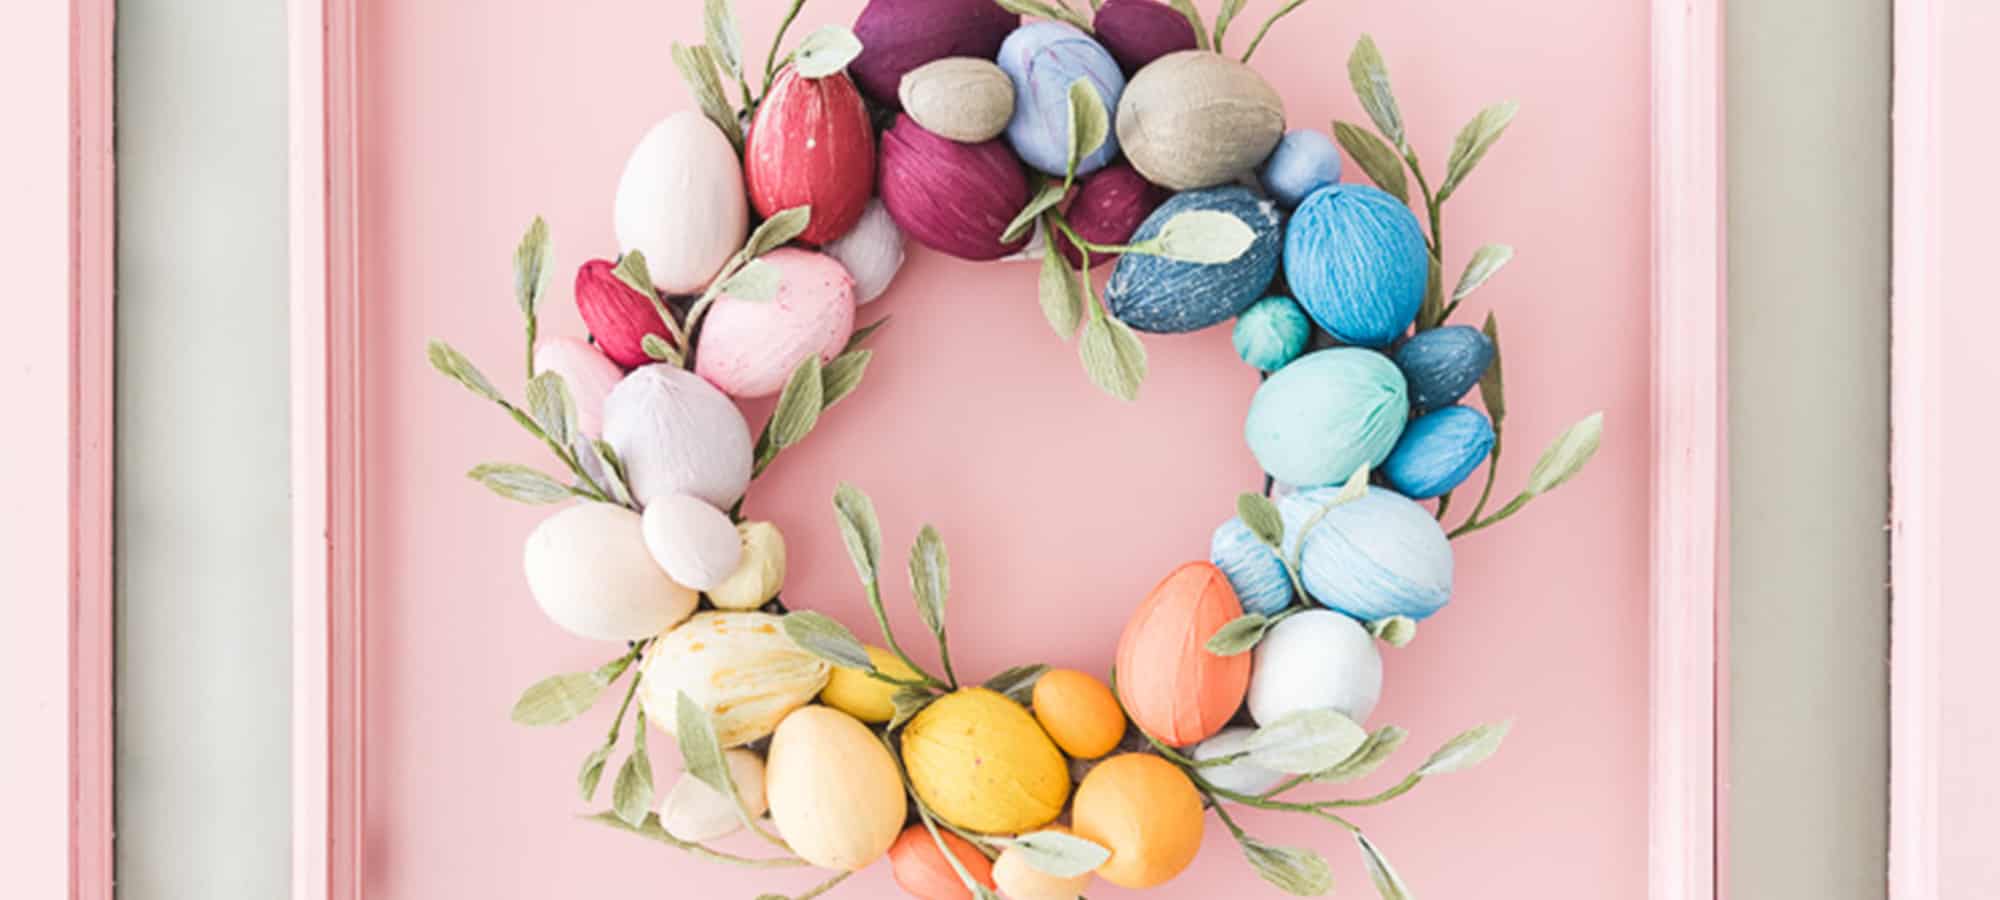
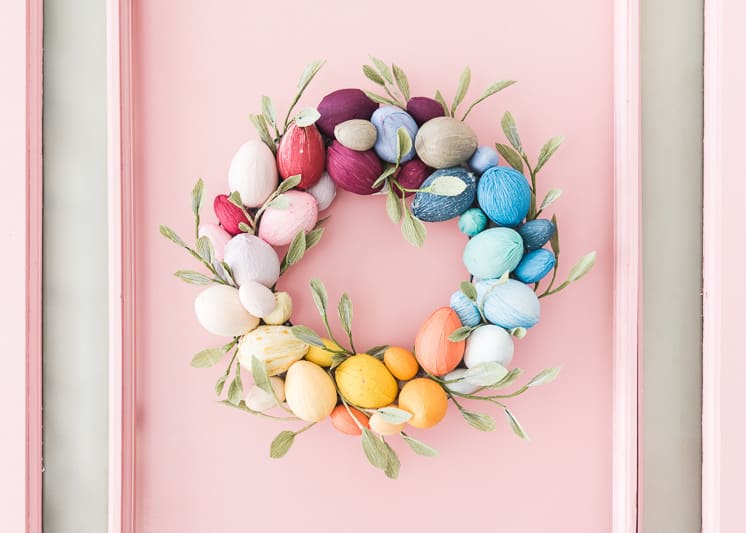
Rainbow Easter Egg Wreath
What You Need
Crepe paper in rainbow colours
Acrylic Paint
Foam eggs from craft store (small and regular sizes)
Metal wreath (30cm wide)
Tissue Paper (2 sheets)
Scissors
Craft glue and hot glue gun
Green floral wire and tape
Method
Unfold your crepe paper sheets. Paint brush strokes or splatter paint on them for fun effects. Allow to dry.
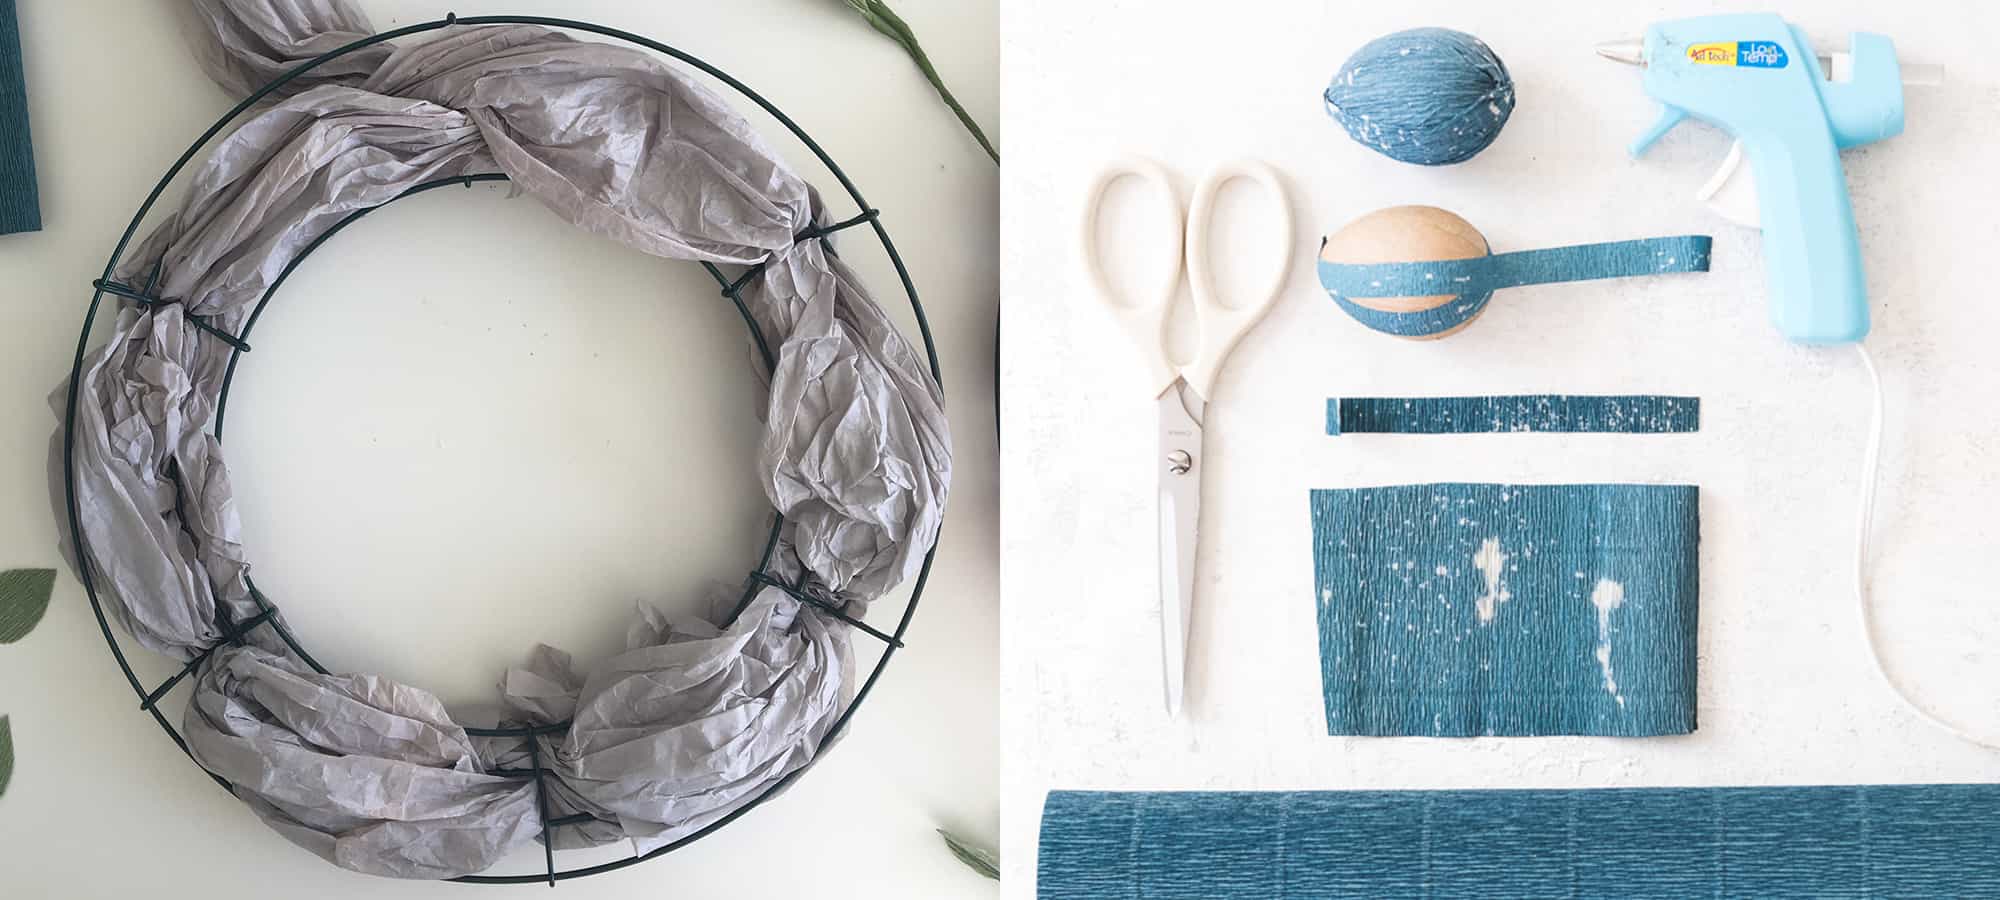
Cut the crepe paper against the grain into 2cm strips, then stretch the paper out to remove the ridges. Wrap the foam eggs in the strips, securing with craft glue or the hot glue gun (parental help required.) Repeat until all of your eggs are covered (approx. 30 eggs needed)
Create a long roll of tissue paper and weave through the inside of your wire wreath. This is used to create extra surface to glue your eggs to.
Cut leaves from the green crepe paper (approximately 3 – 4cm long). Then, cut your floral wire into various lengths (between 6 – 15cm long) and attach the leaf to the end with hot glue. Wrap the wires in floral tape creating stems. Join 4 or 5 stems together and create ‘a bunch’, securing with floral tape and attaching the end to the wire wreath by bending the end around the frame.
Add your decorated eggs to the wreath by hot-gluing them to the tissue paper. Arrange in order of the rainbow colours. It’s okay to be messy with the placement – it adds to the look. Shape the leaves around the eggs as a finishing touch.
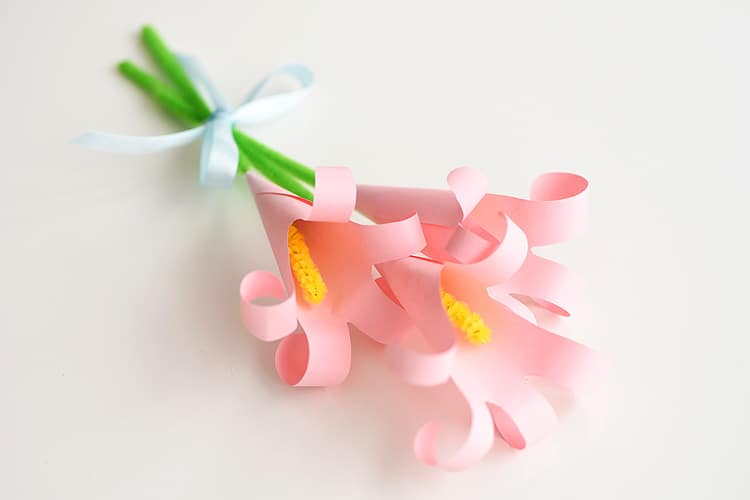
Handprint Paper Lilies
What You Need
Pink craft paper
Pencil
Sticky tape
Scissors
Felt tip pen
15cm long pipe cleaners (green and yellow)

Method
Using your pencil and paper, trace around your full hand and all of your fingers. Repeat three times.
Cut your handprints out of the paper with scissors. Curl the bottom of your handprint around to form a cone shape, secure in place with sticky tape. Leave a little hole at the end big enough for a pipe cleaner to fit through.
Wrap the fingers (petals) of your hand print lily around your round felt tip marker. Curl the petals outwards.
Bend your yellow pipe cleaner in half, and create a little hook at the end of your green pipe cleaner. Join them together by pinching and twisting the end of the green pipe cleaner. Fold one side of the yellow pipe cleaner in half again, and then use the long end to wrap around this folded piece again and again from the bottom to the top. This becomes your stem and centre of your lily. Poke this through the hole at the bottom of your hand print cone and voila! You have a beautiful lily.
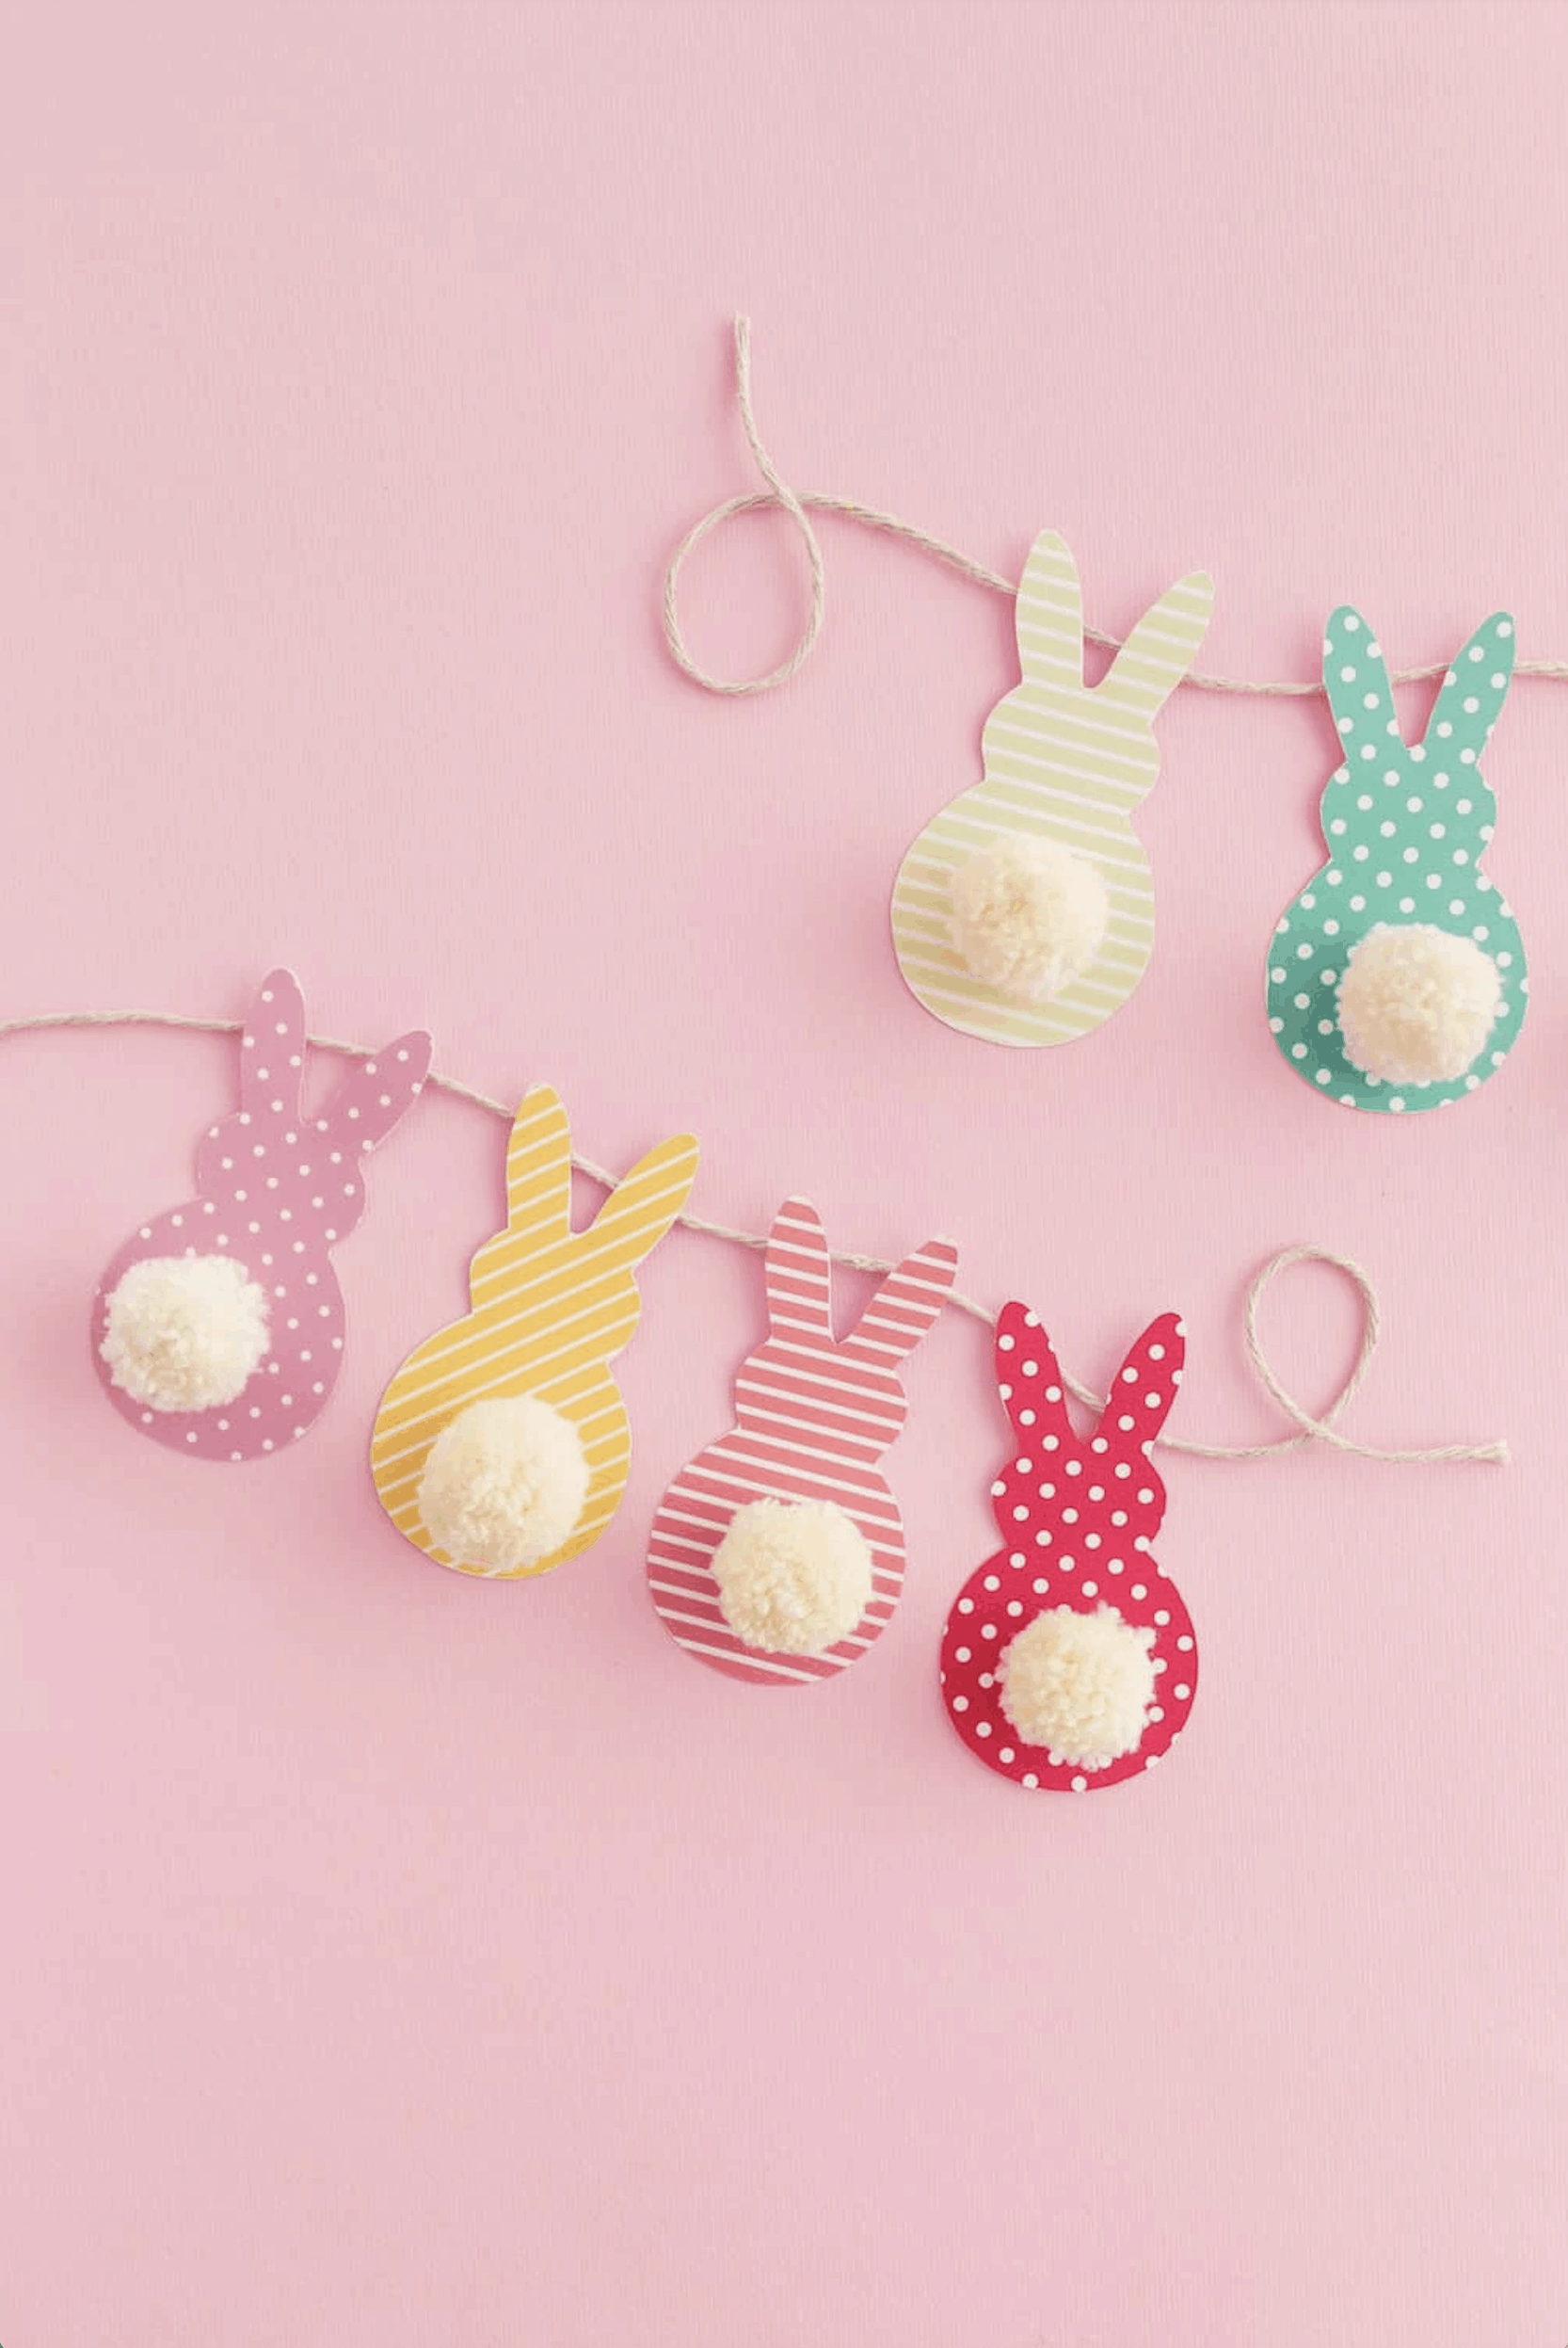
Easter Bunny Garland
What You Need
Scrapbook paper in whatever design you choose
White wool
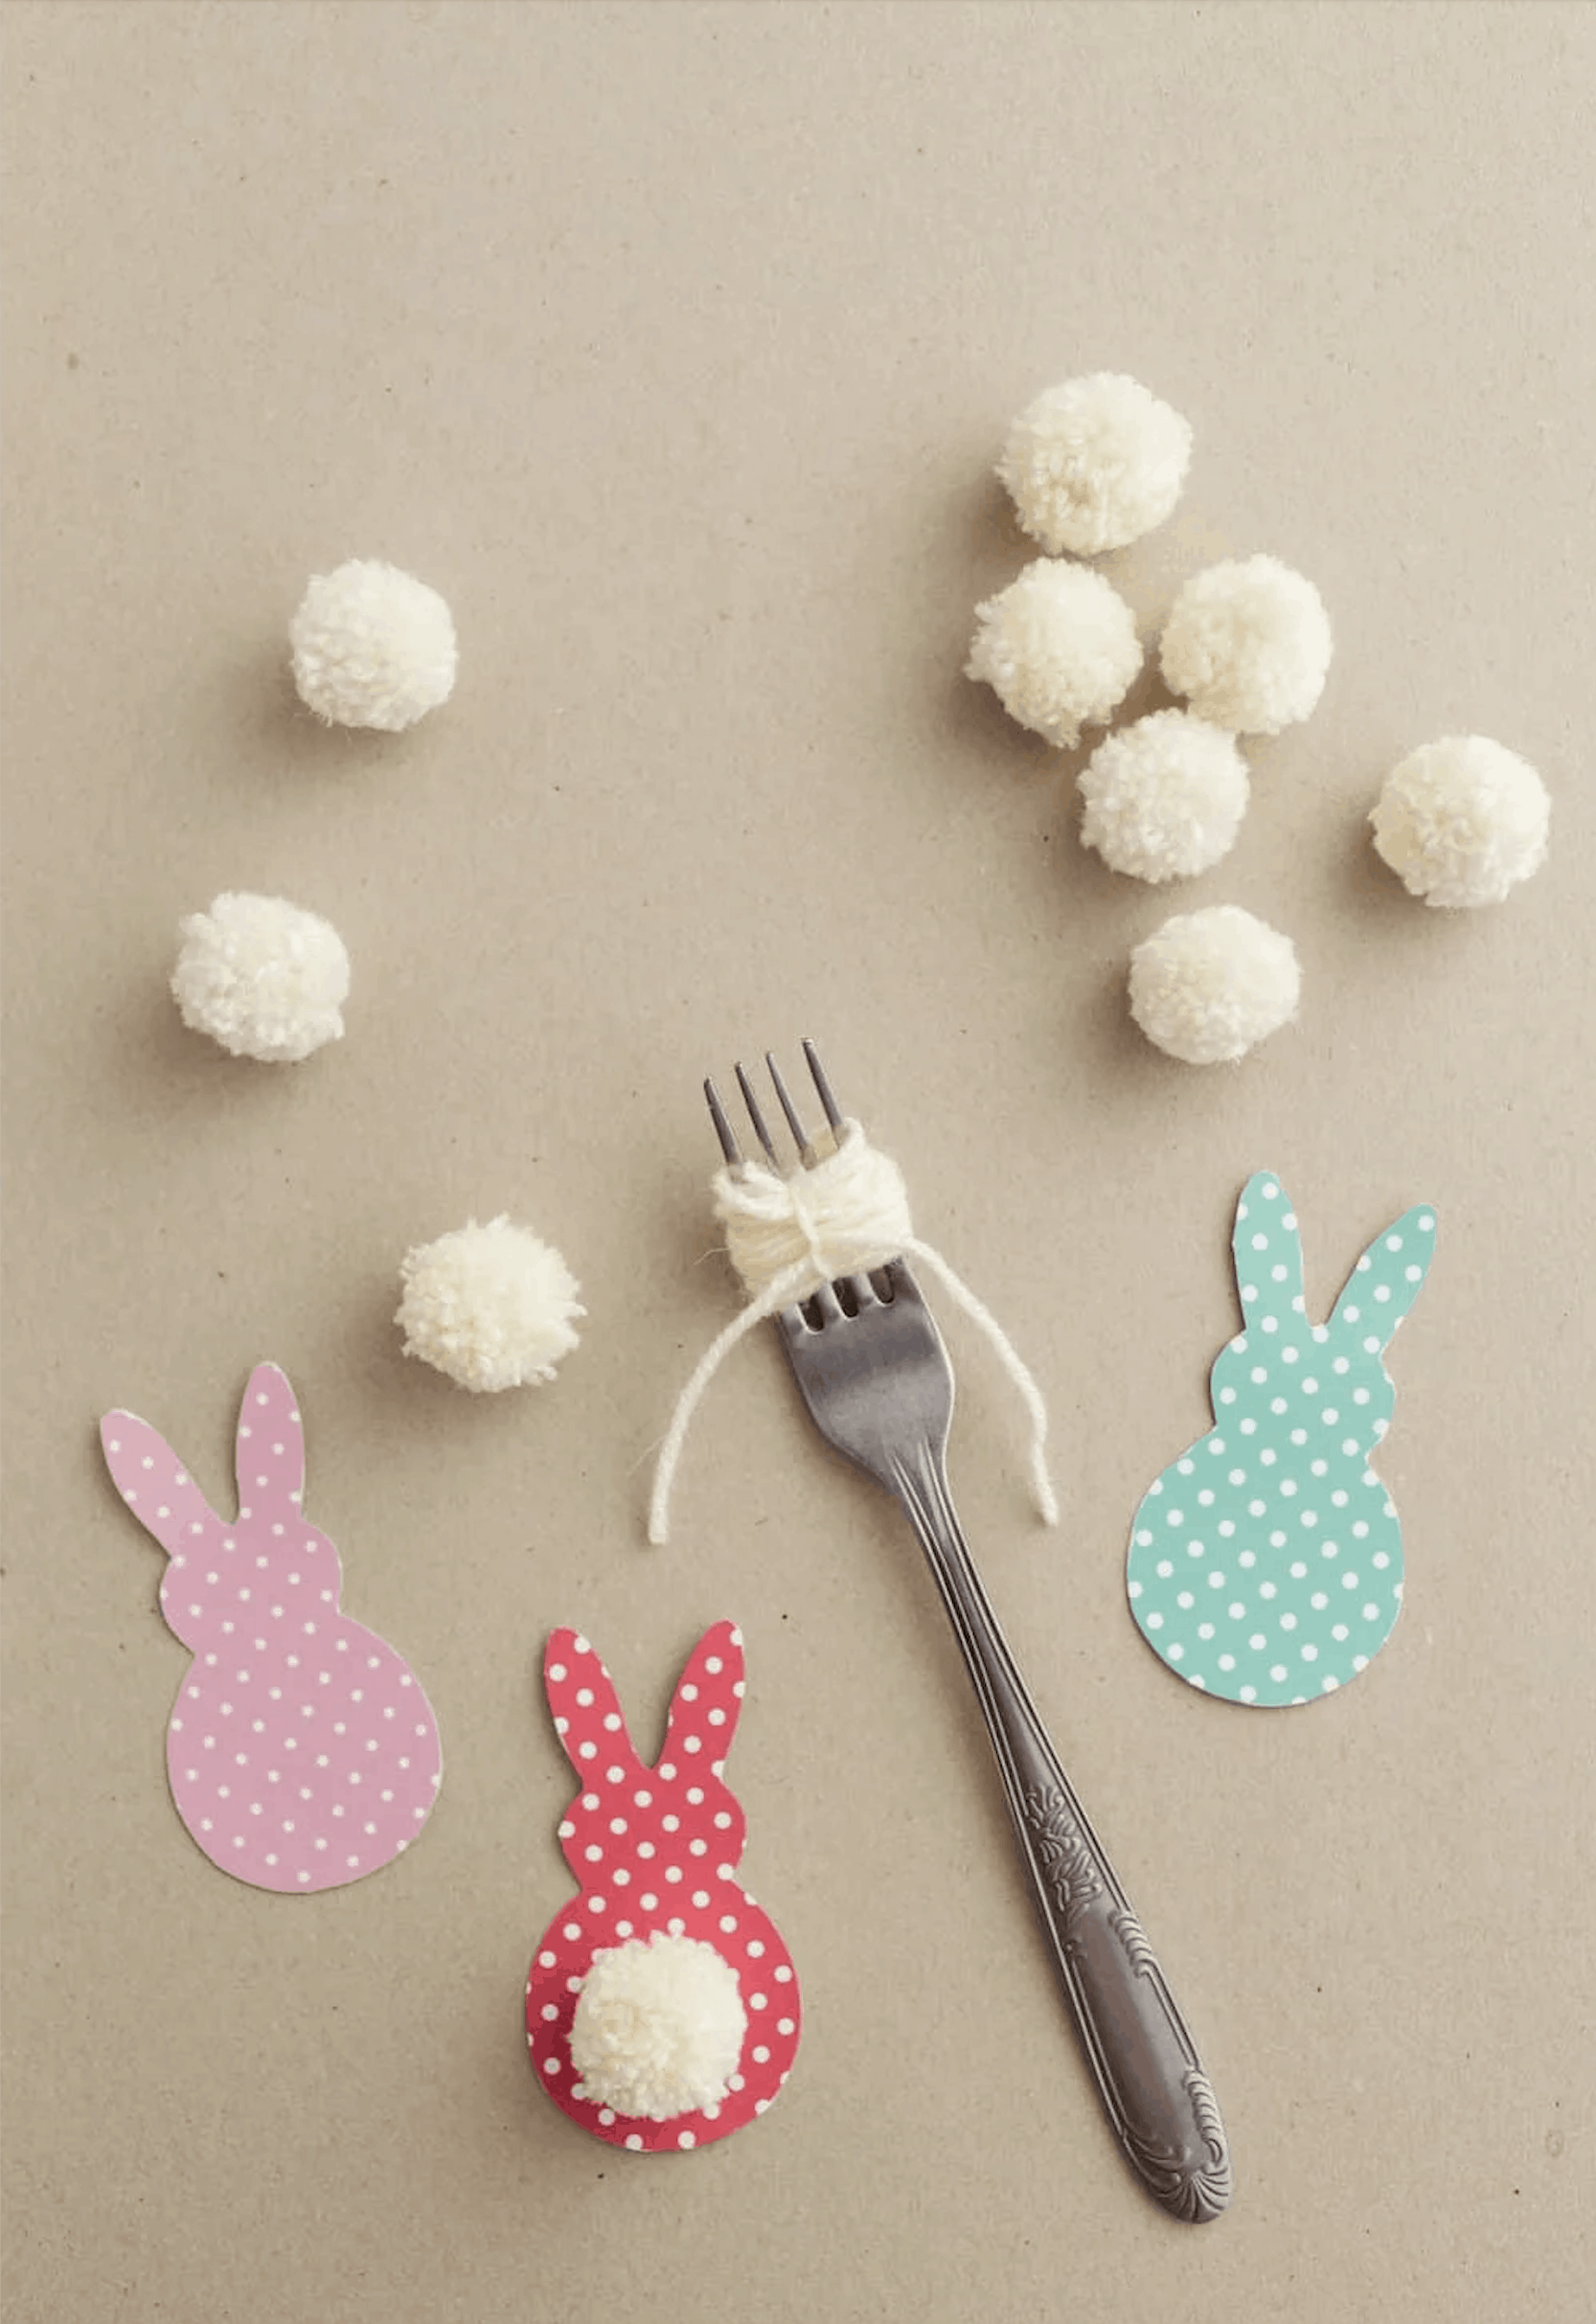
Four-pronged fork
Craft glue
Scissors
Method
Create your own bunny template or head to www.diycandy.com to download theirs. Place the template on your scrapbook paper. Trace around the outline and then cut out the bunny shape. Repeat with various paper until you have at least 10 bunnies to create your garland. Please note: your bunny garland can be as long as you like – just add more bunnies.
Buy white pom poms, or use your fork and wool to create your own. Simply wrap your white wool around your fork about 40 times. Cut another 20cm piece of wool and tie it around the middle of the wool (as pictured). Tie it tight, as it will become the centre of your pop pom. Cut the loops on each side of the fork. Fluff out your pom pom and trim any ends which may be longer than the others.
Cut a piece of wool, to at least 2m in length. Glue the ears of the paper bunnies to the garland. Continue gluing your bunnies about 3 – 4cm apart, until you have finished your garland.