www.mericherry.com
Fairy Garden Activity
What You Need
• Terracotta planter plates (one for each child)
• Paint and paint brushes or coloured marker pens
• Playdough (in various colours)
• Toilet paper rolls and planter cups (or similar)
• A variety of decorative craft items: pipe cleaners, glitter, beads, pom poms, felt
• Pebbles, stones, sticks, moss etc for the groundcover
• Fairy figurines
• Craft glue
• Scissors (to be used with supervision)
www.mericherry.com
Method
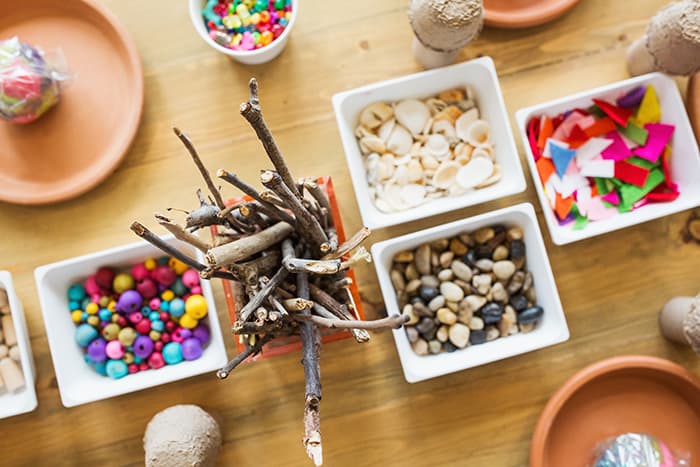
Set up a variety of bowls filled with the items to create your Fairy Gardens in the middle of the tables. Ensure you have multiple bowls for each item so the kids have access to everything where they are sitting (see image above).
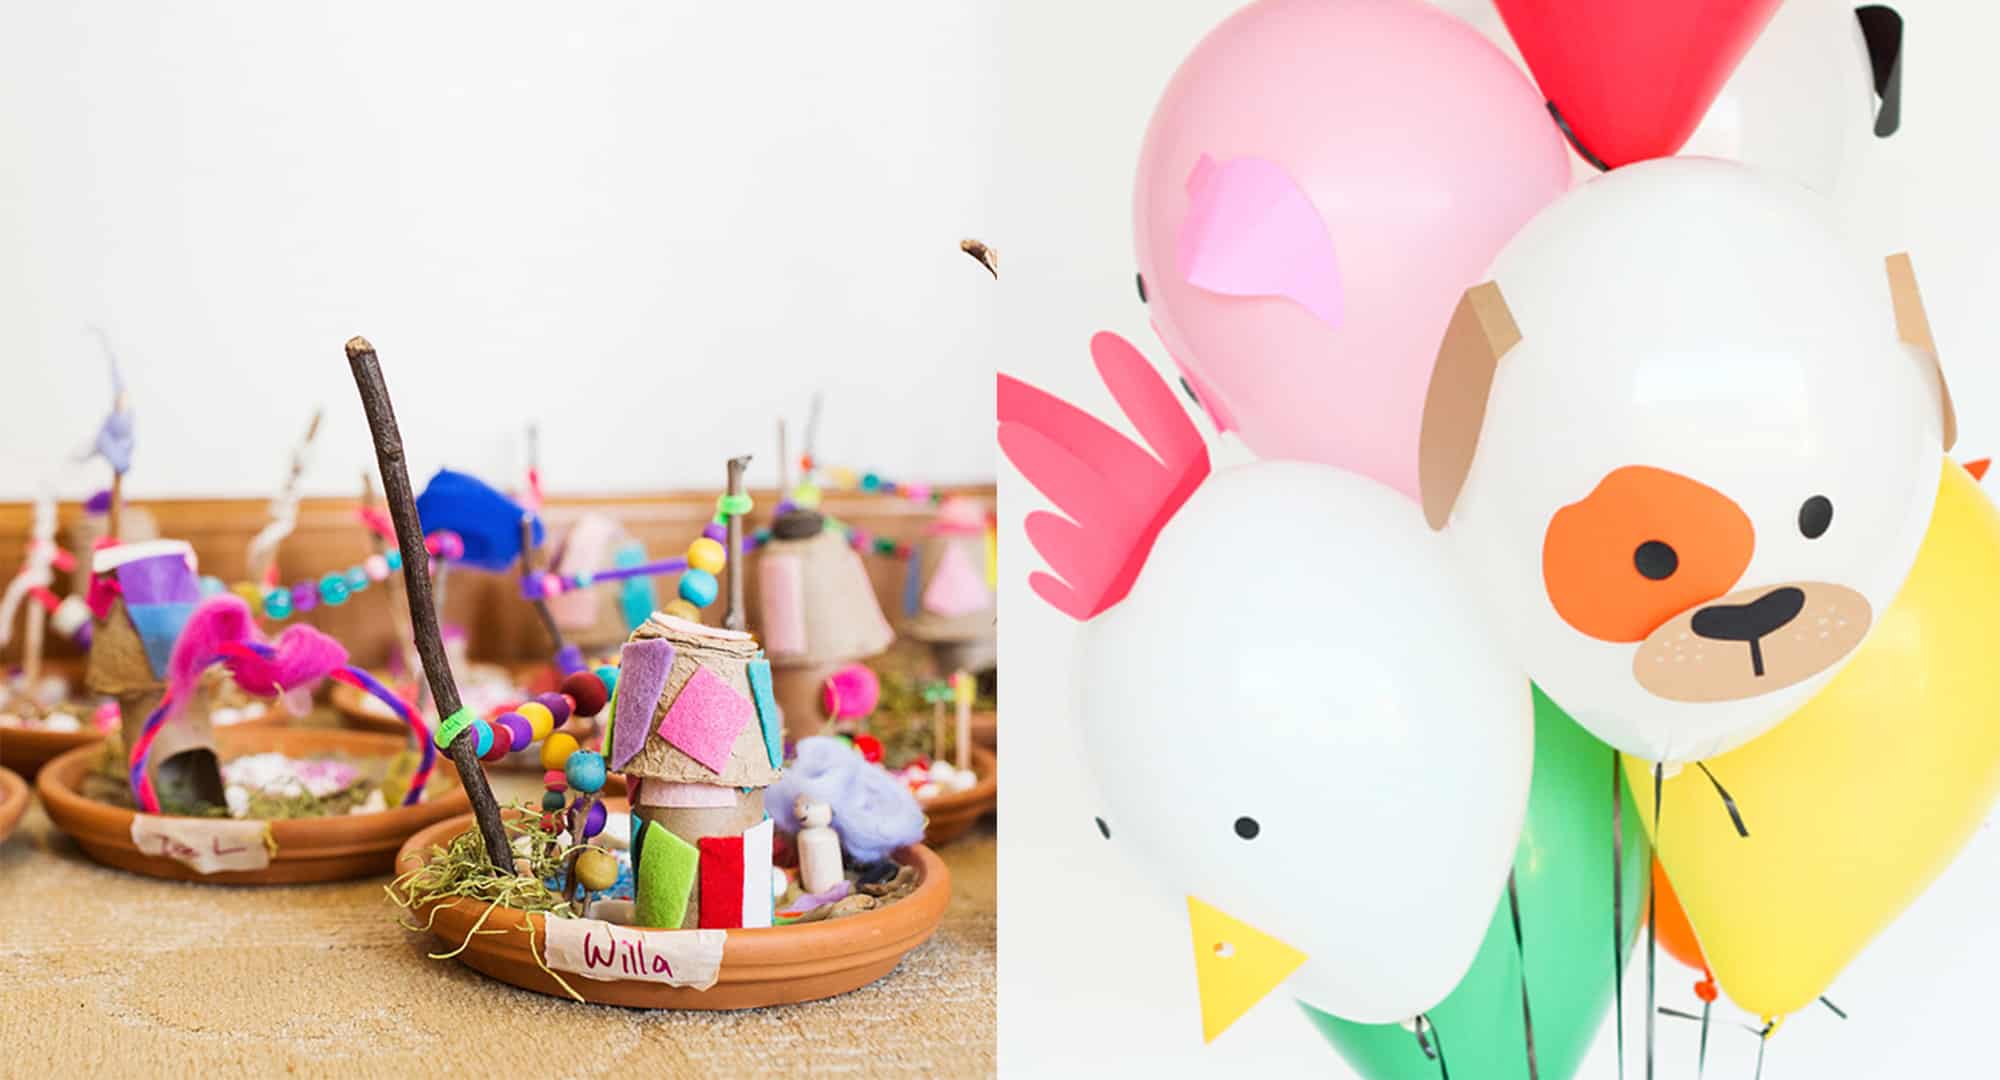
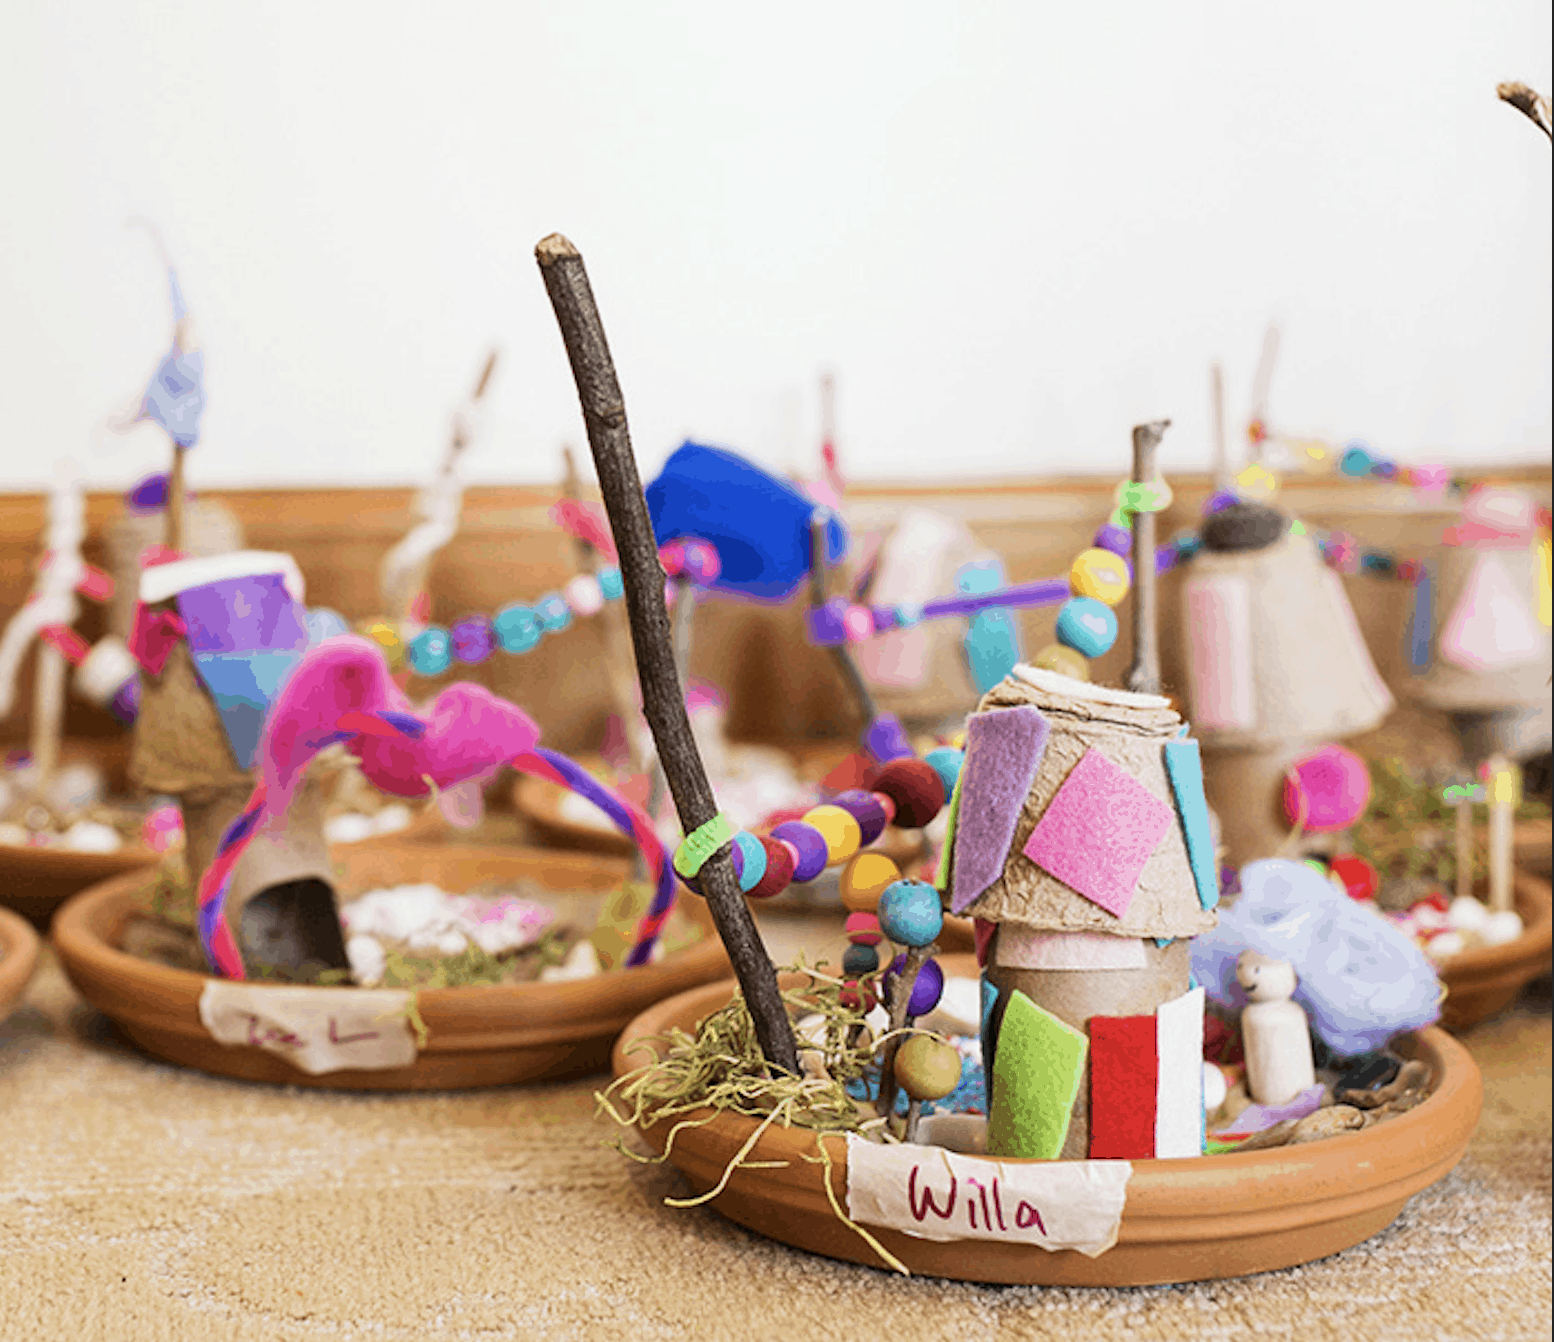
Place a terracotta plate at each place setting. In the middle place a ball of ‘fairy dirt’ or ‘unicorn poop’ – a multicolored bundle of playdough. This will be the base for your garden to be spread out on the inside of your terracotta plate. Also provide a pre-made ‘fairy house’ for each child. Make them by simply cutting a door into a toilet roll holder and then placing the planter cup upside down on the top for the roof. Don’t glue them together – so the child can decorate inside the ‘house’. Think of it as a mini doll house.
Let their imaginations run wild. The children can create their Fairy’s world however they like with the materials provided.
Tips: You may want to cover your table with a drop sheet to collect the creative mess once the Fairy Gardens have been created. If your child isn’t into Fairies, you can make any theme and small world you like.
www.deliacreates.com
Farm Animal Balloons
What You Need
• Pencil
• Black marker pen (permanent)
• Scissors
• Sticky tape or double-sided tape
• Balloons
• Helium balloon tank
• Curling ribbon
Method
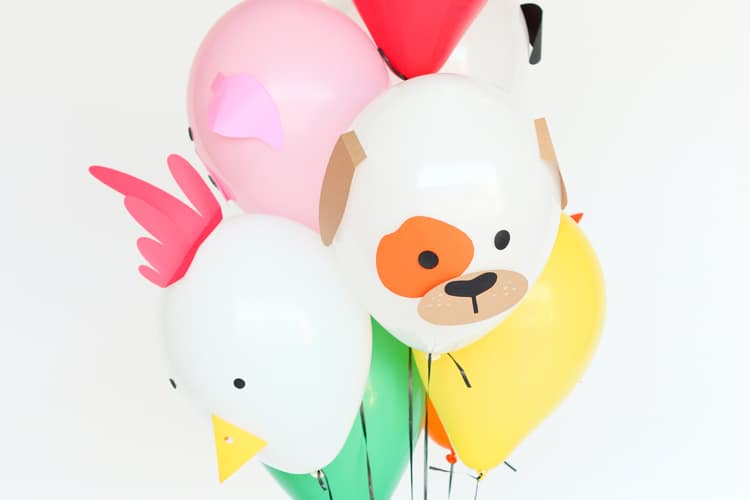
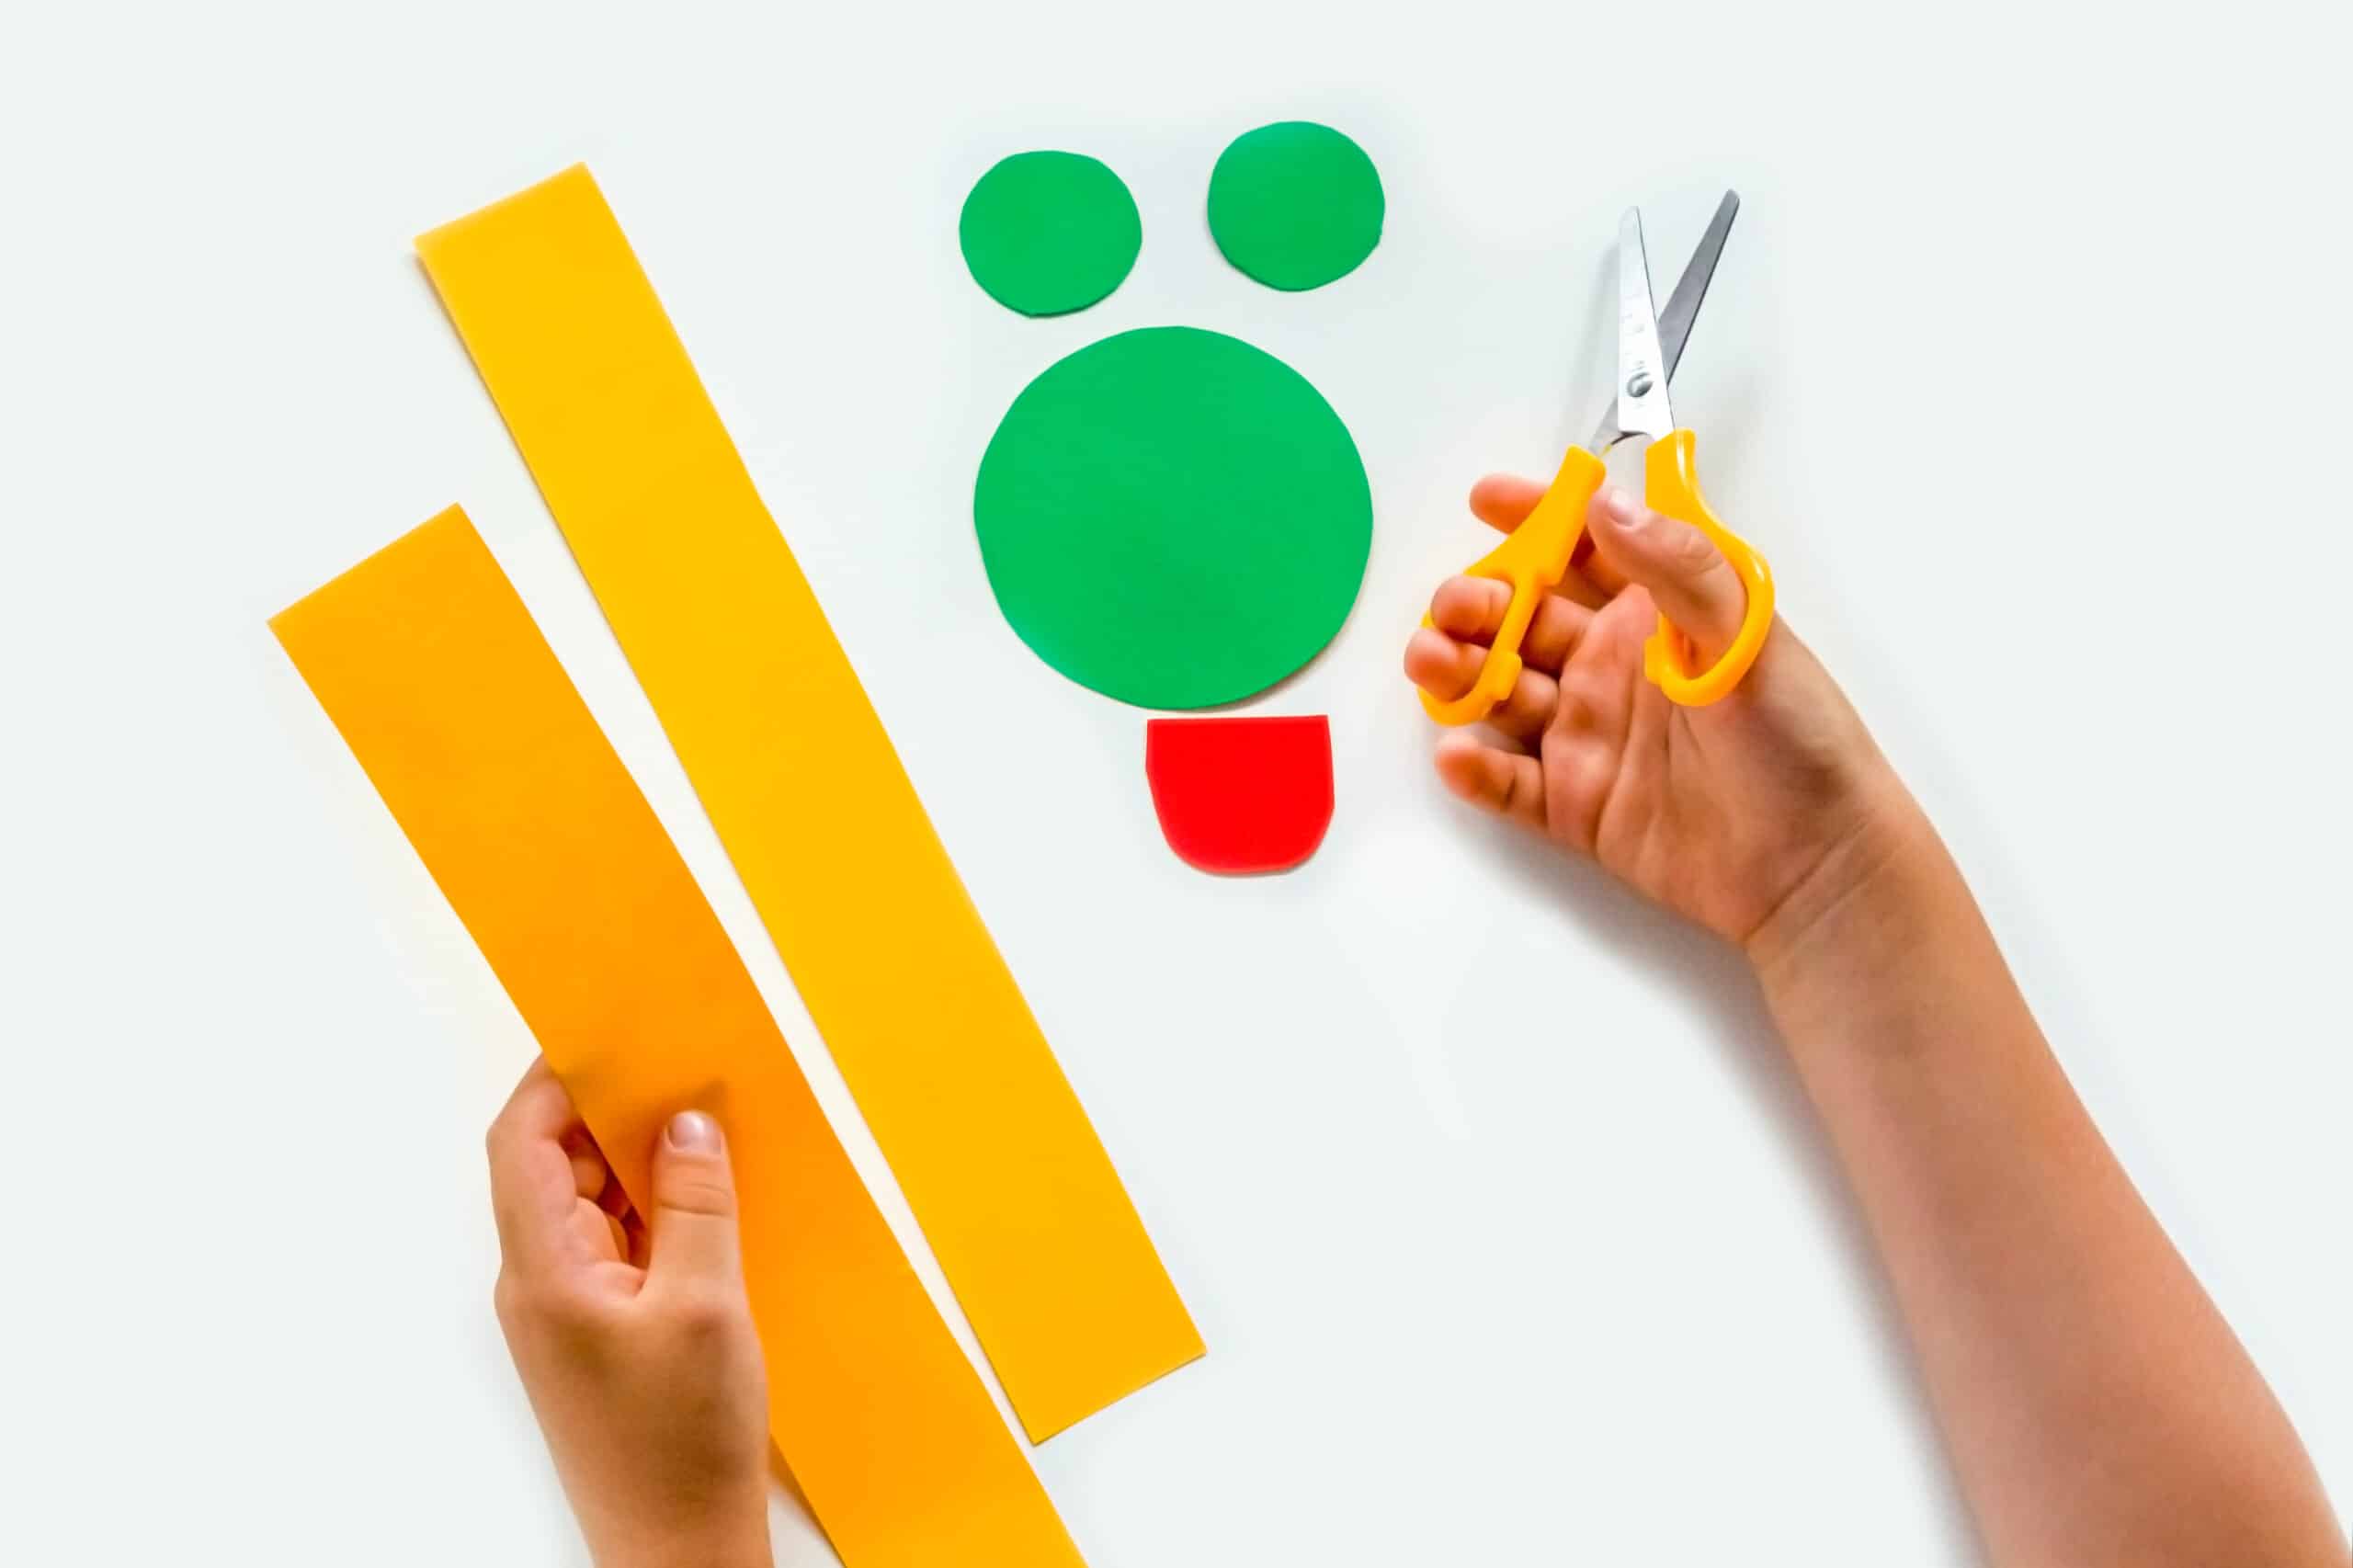
Firstly, decide what animals you’d like to create and what coloured balloons and paper you would like to use. Using your coloured paper and pencil – draw the features you will need to create the animal’s face (nose, ears, eyes etc).
Cut out your features. Tape or draw additional details onto theses features, like the nose for the dog, or nostrils for the pig’s snout.
*Parental assistance required for this step – cut a length of curling ribbon approximately 1.5 meters and then inflate your helium balloon. Try to make your balloon as full as possible (this helps to avoid any drooping). Tie a knot in your balloon and then tie on your curling ribbon. Use a weighted object to tie the ribbon to, so your balloon doesn’t fly away. You may need help from another person to hold your balloon still while you tape your features onto the balloon and make your farm animal face.
Repeat – making as many fun, farm animals as you like.
Tips: Don’t weigh your balloons down – use your tape sparingly and do not use cardboard, as it is too heavy… remember to ‘think light.’ These balloon farm animals can be used for decorations at a themed party or make it a fun activity at a child’s birthday party, with each guest making their own and then taking it home.

